 By Galileo
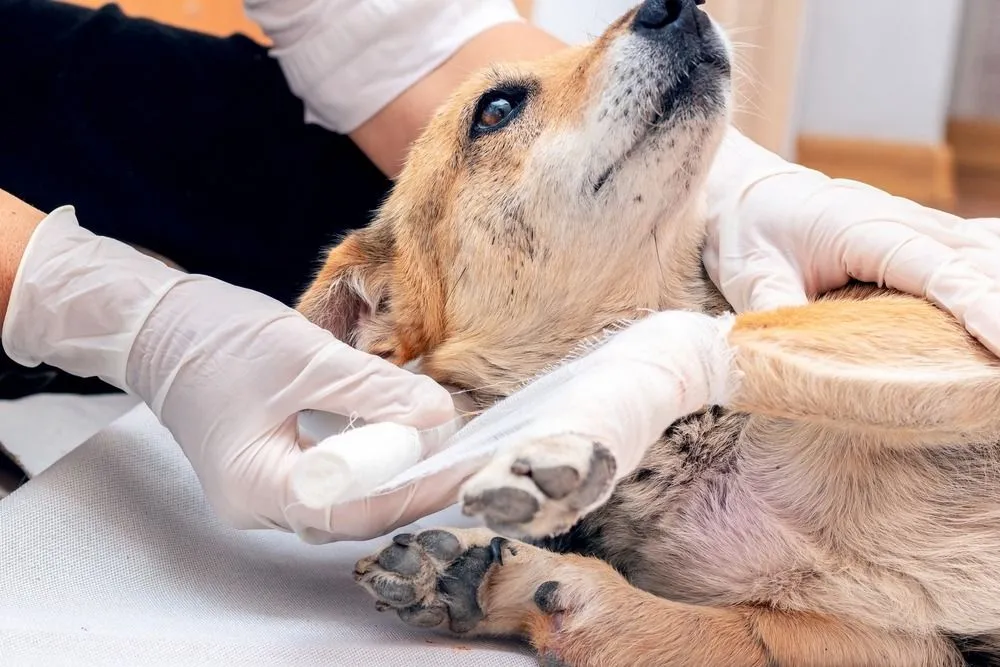
You bring your pet home after surgery, then every glance at the incision starts a quiet argument in your head. Is that redness normal? Was that swelling there this morning? You do not want to overreact, and you do not want to miss something that needs care. That tension is real, especially when your pet is tired, sore, and not exactly helping by licking, twisting, or hiding. This is why compassionate pet care in Rancho Cucamonga matters so much during recovery.
Photos can make those conversations with an animal hospital clearer and faster. A good image gives the veterinary team a better sense of what changed, when it changed, and whether your pet needs to be seen right away. It also helps you track healing instead of relying on memory, which gets shaky when you are worried and checking the incision ten times a day.
Memory fills in gaps, and stress makes those gaps bigger. You might be sure the incision looked flatter yesterday, or that the skin was less pink after breakfast, then an hour later you are not so sure. A photo taken in the same light, from the same distance, gives you something solid to compare. That matters when you are discussing post op healing with the clinic and trying to explain whether the area is improving or getting worse.
Many post surgical changes are minor and expected. Mild redness, slight bruising, and a small amount of swelling can happen during early healing. Reliable aftercare guidance from Virginia Tech’s spay and neuter recovery tips and Mississippi State Extension’s pre and post operative care guide shows how closely rest, incision monitoring, and preventing licking all affect recovery. A clear photo helps your veterinary team decide whether what you are seeing fits a normal timeline or points to irritation, infection, or a problem with the sutures.
The hard part is that phone photos can also create confusion. A close up with flash can make healthy tissue look angry and wet. A blurry image can hide a gap in the incision. A photo taken after your dog just came inside from a walk may show temporary puffiness that settles later. That does not mean photos are useless. It means photos work best when they are consistent and paired with a short, factual update.
You do not need perfect pictures. You need useful ones. Take the photo in good natural light or under the same indoor light each time. Stand the same distance away. Take one wider shot that shows where the incision is on the body and one closer shot that shows the skin edges. If your pet will tolerate it, photograph the area once or twice a day at about the same time.
Include a simple note with the photo. Write down the date, the time, whether your pet is licking or scratching, whether there is discharge, and whether eating, drinking, and energy seem normal. That short context often matters as much as the image itself. A photo of mild swelling means one thing in a calm dog resting in a cone, and something else in a dog that has been jumping on furniture and chewing at the site.
When you notice a real change, send the new image beside an earlier one. Side by side comparison is often the fastest way to show progression. This is where sharing pet incision pictures with a vet becomes especially helpful. It changes the conversation from “I think it looks worse” to “Here is yesterday morning and here is tonight.”
Photos support care, but they do not replace judgment. If the incision opens, bleeds steadily, smells bad, drains pus, or looks much more swollen over a short period, contact the animal hospital promptly. The same goes for vomiting, extreme lethargy, pale gums, pain that seems to spike, or a pet that will not leave the area alone.
You know your pet’s normal behavior. If your cat suddenly hides and growls when you go near the incision, or your dog stops eating and seems restless all night, trust that change. A clinic may ask for photos first, but signs like those can move the issue from “keep watching” to “come in today.”
| Photo Habit | What It Shows the Hospital | Likely Result |
|---|---|---|
| Same lighting and angle each day | True changes in redness, swelling, and skin edges | Faster guidance and better healing comparison |
| Only one blurry close up | Limited detail and no body reference | More follow up questions, less certainty |
| Before and after photos sent together | Clear timeline of change | Better triage decision on home care versus exam |
| Flash photo taken too close | Skin can look shinier, wetter, or redder than it is | Possible confusion about severity |
| Photo plus short notes on licking, appetite, and energy | Visual change with behavior context | More accurate advice from the animal hospital |
The goal is not to build a medical chart at home. The goal is to make communication cleaner. That is why pet incision photo updates are so useful when something feels off but is not clearly an emergency.
1. Create a simple photo routine. Take one photo in the morning and one in the evening for the first few days after surgery, or as your veterinary team recommends. Use the same room, the same light, and the same distance.
2. Keep your message short and specific. When you contact the animal hospital, include when you first noticed the change, whether it is getting larger or redder, and whether your pet is eating, resting, and leaving the area alone. Short facts help the staff triage quickly.
3. Protect the incision between updates. Prevent licking, limit activity, and follow discharge instructions closely. Even the best photo will not help much if the incision keeps getting irritated by movement or chewing. Basic post op care is often what keeps a small concern from turning into a larger one.
You do not need to guess your way through recovery. A few consistent photos, sent at the right time with a few useful details, can make it much easier for an animal hospital to guide you. That helps you avoid panic over normal healing and catch trouble before it gets worse.
If your pet’s incision looks different today than it did yesterday, take a clear photo, compare it to an earlier one, and contact your animal hospital with the update.
 MUNJAL BLOG